
Christmas is just 5 days away, can you believe it? This whole month of December we’ve been celebrating by baking cookies, making festive cocktails, and of course, my annual Christmas tea!
I hosted this year’s Christmas tea early in the season, and it was such a fun way to kick off the festivities with friends. I would totally use this same set up for a fun Christmas or New Years Eve brunch too!
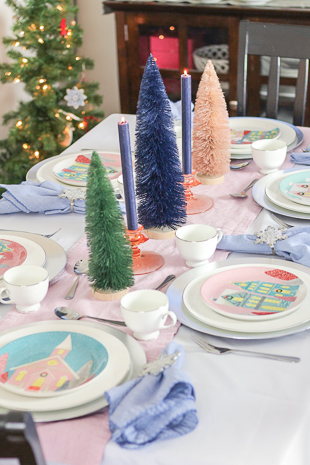
Last year I opted for a traditional red and plaid table, so this year I chose a Merry and Bright theme with pinks and blues. I love how happy and relaxed this table feels. Read on for all the details!
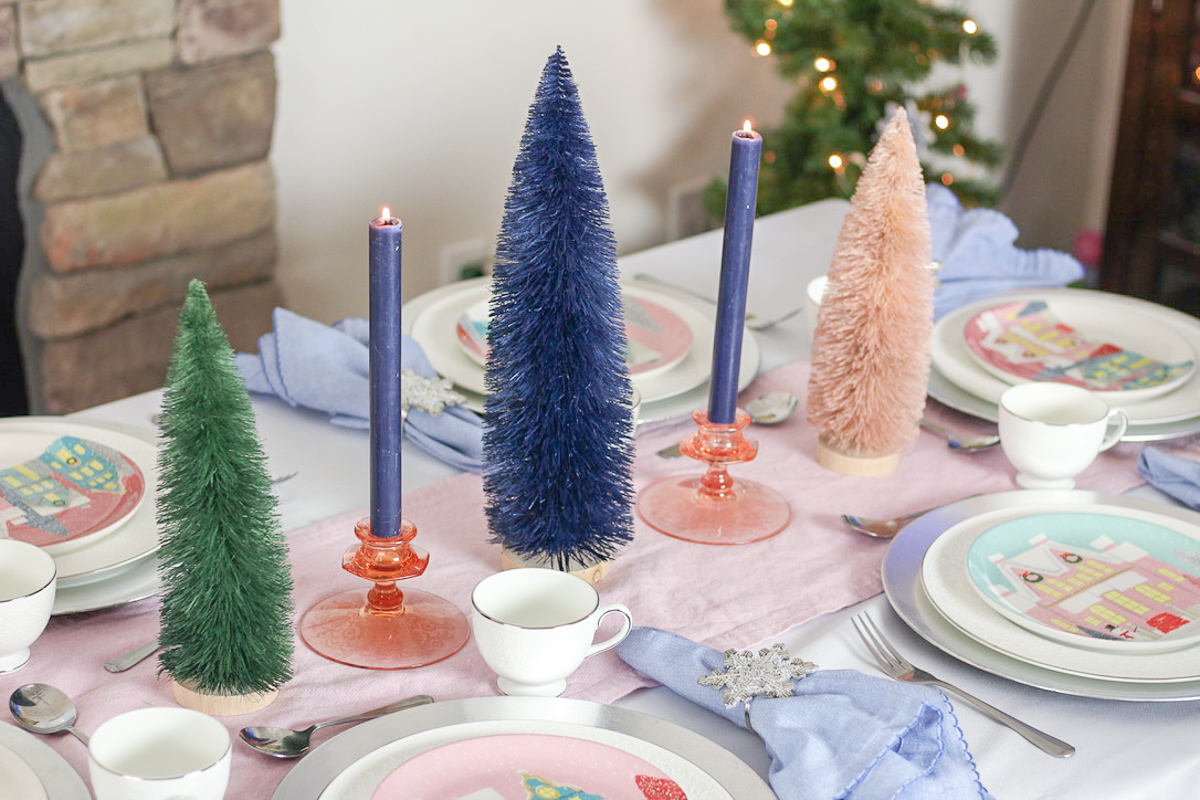
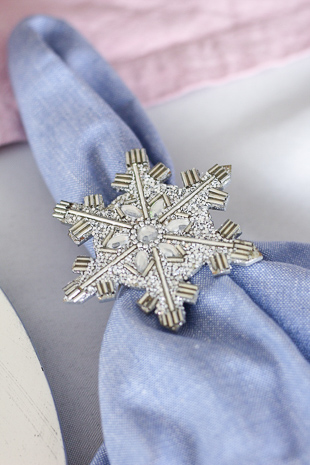
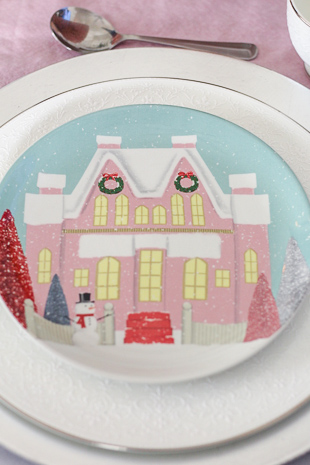
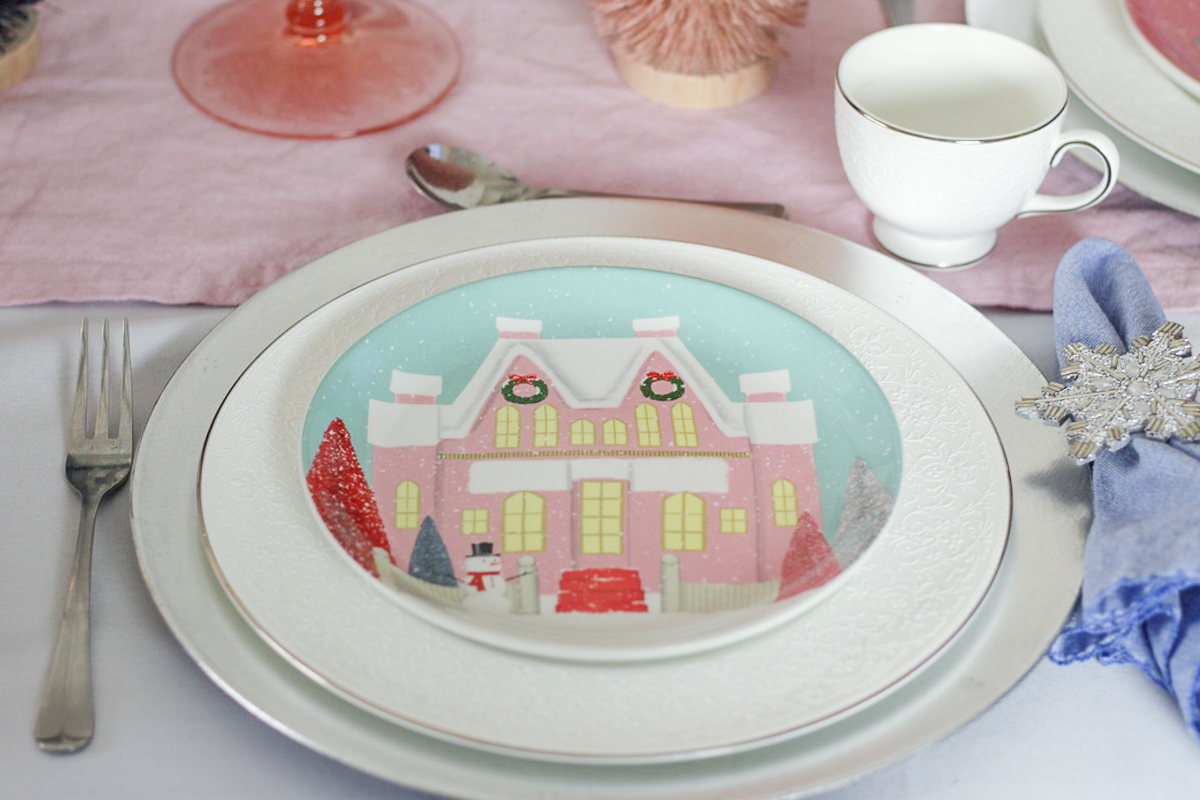
I knew I was going to focus the table on light pastels, and just about jumped with glee when I found these adorable nostalgic village salad plates! I love that each plate has a different winter village scene – they are so pretty! I love how the snowflake napkin rings tie in with the plates, and also add just a bit of glam to the table.
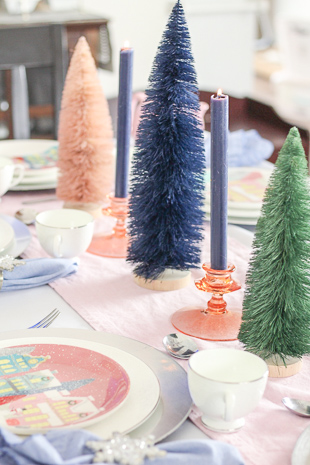
My centerpiece was incredibly simple this year, with some bottle brush trees in different colors and pretty candles, set on a simple pink table runner. It doesn’t get much easier than that, and we’ve been enjoying the bottle brush trees as decoration around the living room too!

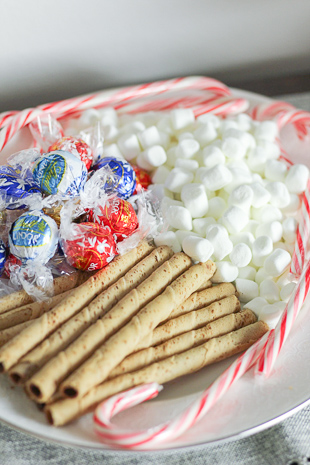
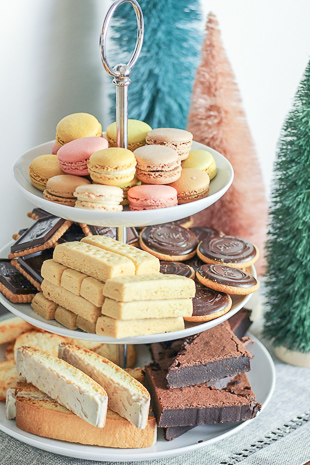
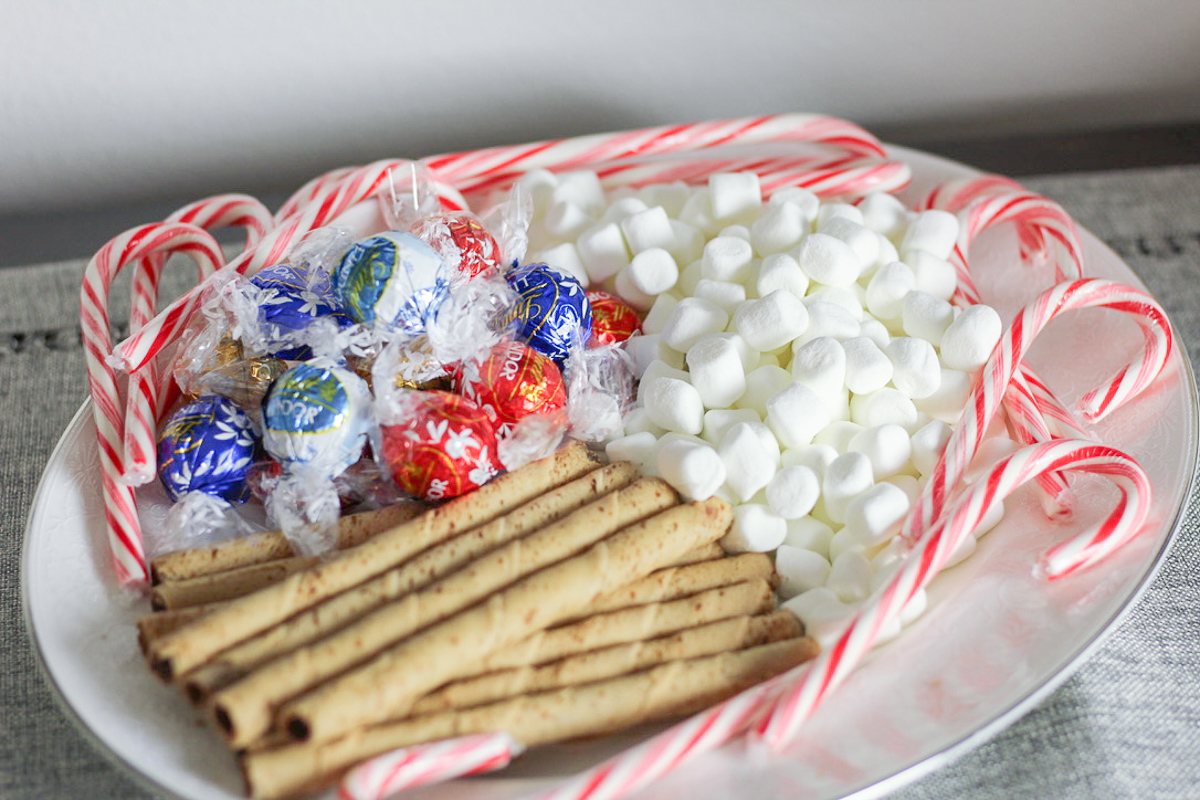
For desserts, I set up a hot cocoa bar with all the fixings, and a fun tiered tray full of various sweets! I love this 3-tier stand, because it makes every cookie whether homemade or store-bought look beautiful! It’s one of my go-to dishes when I’m entertaining!
If you have any questions about anything on this table or how to host your own Christmas tea (or party of any kind), check out my 6 Tips For An Easy and Beautiful Christmas Tea, or leave a comment below!
I hope everyone has a wonderful holiday season!
Thanksgiving is one of my favorite meals of the year! I love the food (especially the stuffing!), and the chance to be with family. Growing up, holiday meals were always enjoyed over a beautifully set table, and I always looked forward to it! It doesn’t have to be anything elaborate, but taking the time to make the table a little more special made the whole dinner more memorable.

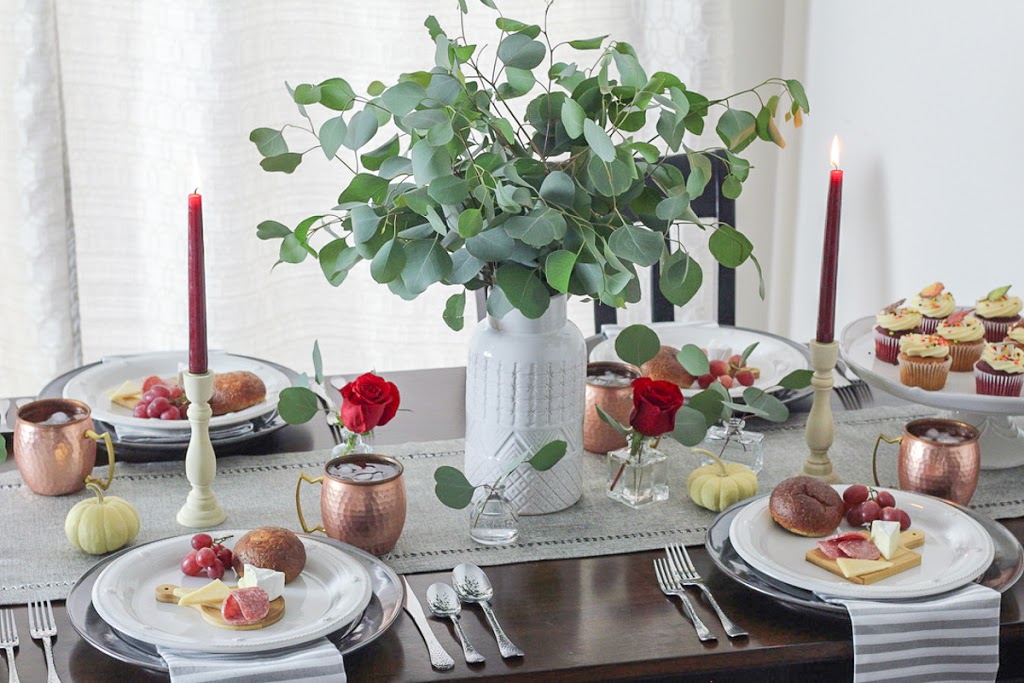
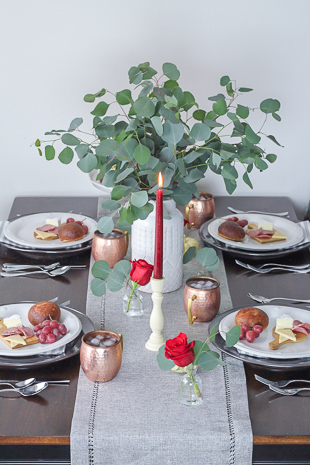
For this table, this year, I opted for a simple, yet elegant table with striking elements such as the gorgeous pewter chargers, complimented by beautiful white plates from Juliska and large eucalyptus arrangement.
Whenever I set a table, I pick one or two pieces to design the whole table around. For this table, it was these gorgeous pewter chargers! I chose a simple grey table runner, striped grey and white napkins, and rustic wood candle holders so that the chargers would really shine. Then I added some pops of red with roses in bud vases and candlesticks, and some fresh green eucalyptus in this beautiful textured ceramic vase!


I always think it’s fun to surprise guests with one or two really special treats. Sometimes it’s a delicious cocktail, calligraphy, or favors. For this table I set up mini charcuterie boards at each place setting, for each guest to enjoy as we gathered. So cute and so easy, and a really fun conversation starter!

I can’t get over these beautiful Berry & Thread dinner plates from Juliska. They are so well made – you can see in the photos how solid they are! The details are beyond gorgeous – I love the subtle texture they add with the raised thread and berries design around the edge.
Investing in a set of quality white plates is so helpful for entertaining all year round – you can use them for any color scheme, holiday, or your everyday family dinner. And the simple design means these plates can be used for any table you have in mind, from rustic to glam!


The Berry & Thread collection has so many gorgeous pieces from serving dishes to glassware, and I was so excited to use the Berry & Thread cake stand to serve pumpkin and red velvet cupcakes! (The pumpkin cupcakes were adapted from my Pumpkin Caramel Layer Cake recipe.)


Thank you to Juliska for gifting their items used in this post. As always, all opinions are my own.
Looking For Some Fall Recipes To Serve?
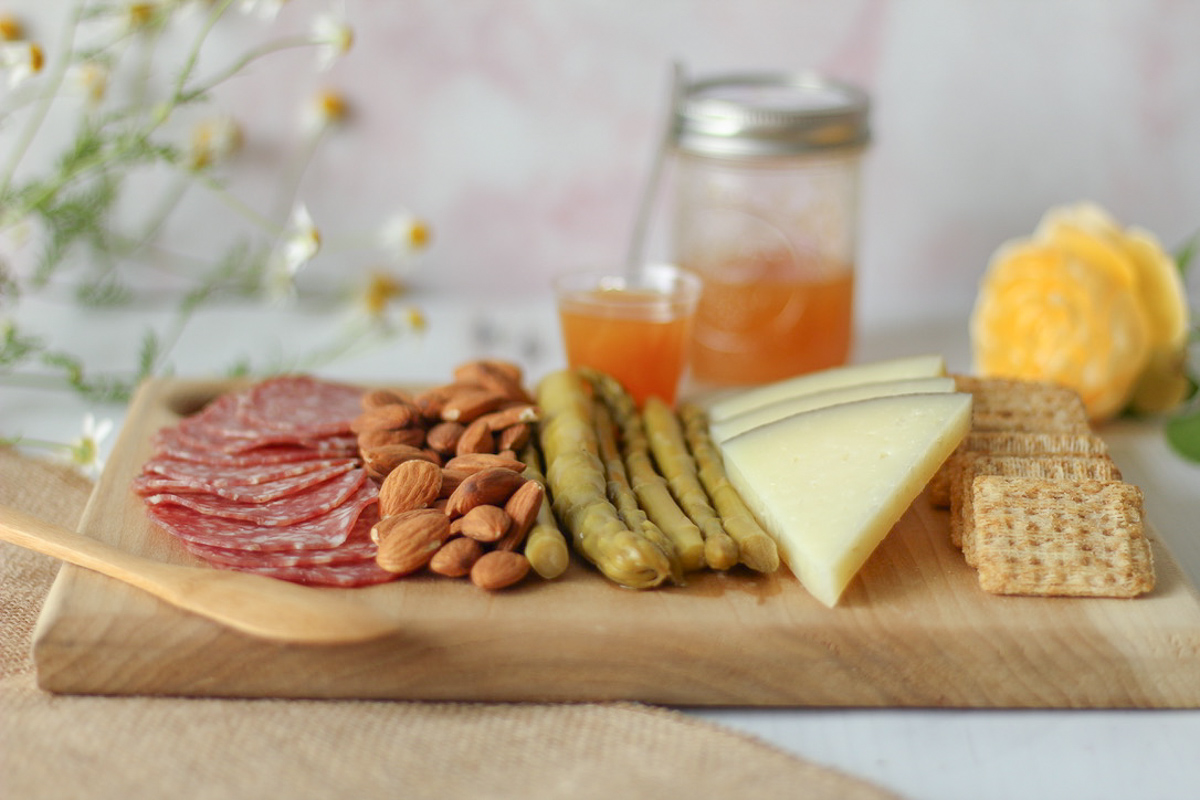
For this week’s post, I joined forces with charcuterie extraordinaire and Pullman, WA local Audrey, from A La Board NW. She specializes in charcuterie and cheese boards for catering local events. I was so excited to sit down with her, learn her top tips for creating charcuterie boards at home, and nibble on some of these delicious goodies.
Charcuterie boards offer many options, satisfy a number of cravings, and also cater to dietary restrictions. Since every guest gets to choose what they eat, charcuterie boards are great for anyone with gluten-free, vegetarian, and low carb diets! They’re perfect for casual girls nights or elegant Thanksgiving dinners, and the smallest of celebrations to the greatest of gatherings. While they’re packed with complex flavors and look beautiful, they are very simple to assemble – especially when you know these 3 secrets!

As much content as this guide has, it really is as simple as pulling cheeses, meats, crackers, and produce out of your fridge and cupboards, throwing it on a cutting board, and arranging it to please the mind’s eye. The best boards are made from curiosity and creativity – plus a little wine to help you get there!

Secret #1: What To Buy
Spreads: One of my favorite ways to add extra interest and excitement in charcuterie boards is to serve it with spreads! Spreads that I often use are mustards, jams, and honey. Mustards add spice, zest, mild sweetness, and a light bitterness that kicks your bite up a notch. Jams pair really well with softer cheeses and fatty meats.


Secret #2: How Much To Buy
This can be a tricky one, when you’re standing in the grocery store staring at the cheese selection. Do I need 3 or 4 wedges? Is that too little? What if I have a ton leftover?
Well, here’s a little trick-of-the-trade formula so you never have to second guess again! First, figure out how many people you’re serving. Typically serving sizes for meats, cheeses and starches are around 1 ounce, and the normal serving size for fruits and vegetables is 2-3 ounces.
What does this mean? Let’s say you’re expecting 10 guests. You will need total:
- 10 ounces of each cheese
- 10 ounces of each meat
- 20-30 ounces of fruit
- 20-30 ounces of vegetables
- 10 ounces of crackers or bread
Some people will enjoy more, and some will enjoy less, and this formula accounts for that. Pretty easy, right?


Secret #3: How To Assemble Charcuterie Boards
You’ve chosen all your items, you have the perfect amount of each, and now it’s time to assemble your board!
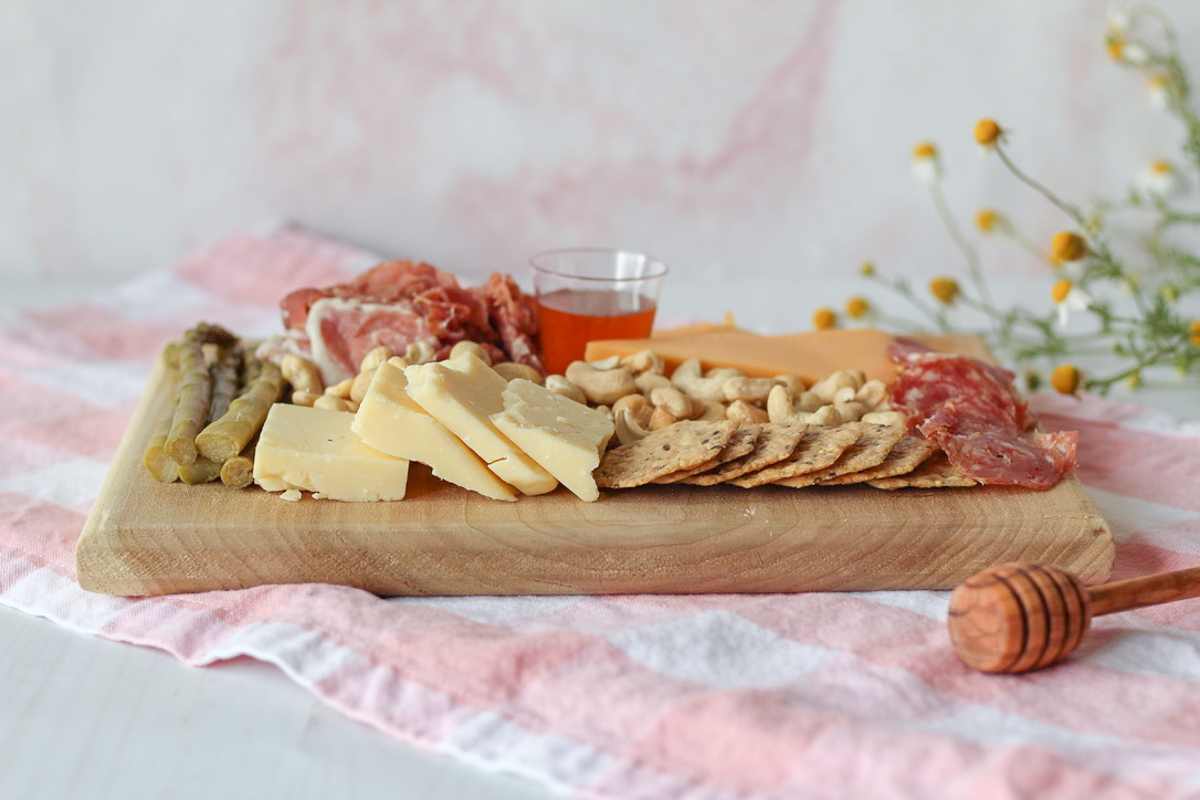
You’ll notice that the prettiest charcuterie boards focus on variation in textures and colors. For example, bright red cherries alongside a wedge of creamy brie make both foods stand out and instantly look more appetizing.
Start by laying out your starches, taking up about 1/3 of the board. Add your cheeses in separate spots of the board, and place your meats in between. Then fill in any empty spots with fruit, nuts, extra crackers – whatever looks good to you! Nestle small containers of mustards and jams in between. (For these boards, we used shot glasses for the condiments. They’re the perfect size, and inexpensive!)


Happy official first day of summer! What better way to welcome the new season than with a summer picnic? I love spending as much time outdoors during the summer months as possible, to take advantage of the beautiful weather and scenery! So today I’m sharing with you my five tips for hosting a summer picnic!

Blue and white is one of my all-time favorite color combinations. It’s so fresh and classic, and works for any event! This year as I was putting together my Easter brunch table, I knew it had to be blue and white with pops of beautiful, bright colors!


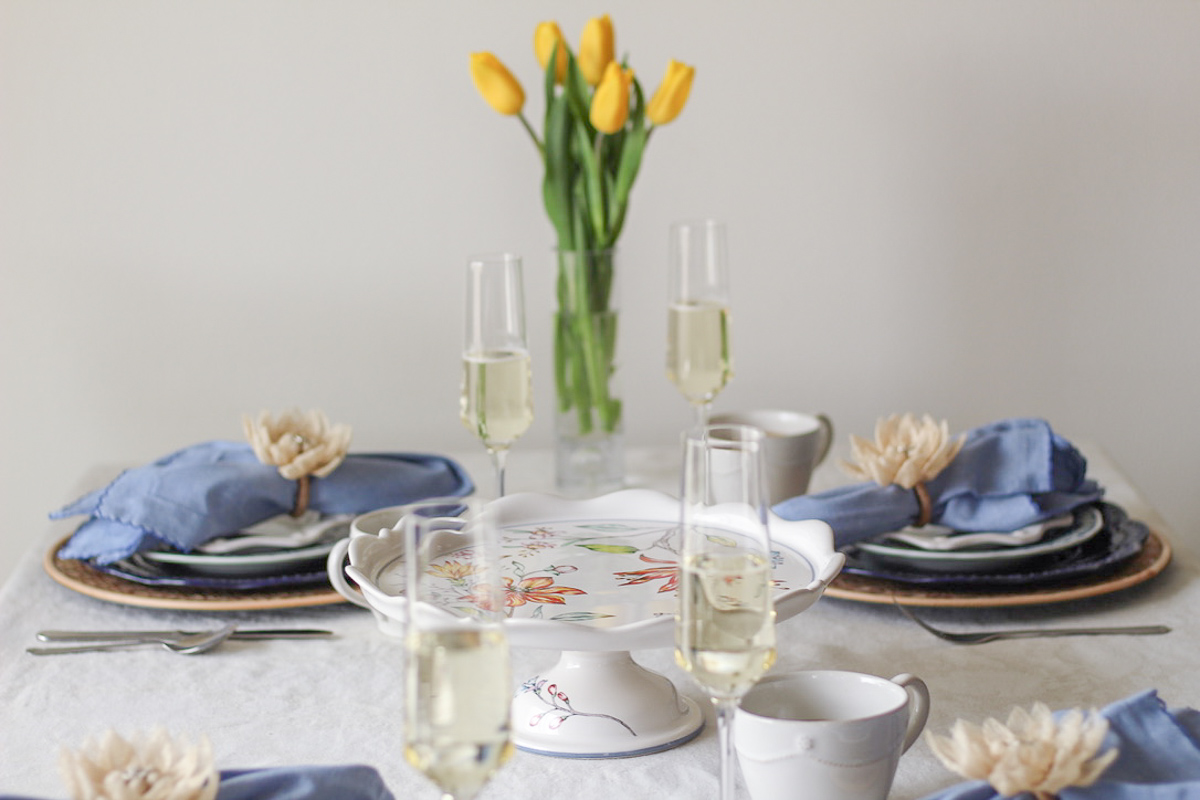


I love layering plates! It creates such depth to the table, and an opportunity to create a much more interesting table. I chose plates all in white and blue, and love how it turned out! I love how each plate has a different pattern and texture – it’s so visually appealing.
The beautiful scalloped tea plates are perfect for small bites and appetizers to start the meal, the salad plates for salad (shocker), and the dinner plates for the main event! I secretly get a little excited when I see lots of plates because it means the host has something really special planned!


Since this is for a brunch, of course I included these beautiful coffee cups! I love the details – it’s the perfect cup to linger over, slowly sipping and enjoying a brunch with friends! If you’re planning an Easter dinner instead of brunch, still keep the coffee cups! Many people enjoy some coffee or tea with dessert.

The serving pedestal and tray may be my favorite pieces on the table! I love their beautiful, bright colors and floral design. There is such attention to detail – I absolutely adore the little flower on the base of the pedestal! The dahlia napkin rings are so pretty, and everyone who sees them is instantly delighted. They’re so well made, and are a beautiful detail for each guest to enjoy.


I hope you have a beautiful and happy Easter, surrounded by good company, delicious food, and an egg hunt or two!
