search results for
cake
Valentine’s Day may still be a month away, but it’s never too early to start planning your Valentine’s Day desserts! Enter easy strawberry champagne cupcakes! This is a delicious champagne cupcake, made with actual champagne and a champagne extract for a little extra flair. Then topped with delicious strawberry buttercream, because champagne is always better with strawberries, right? And yes, these are as awesome as they sound!
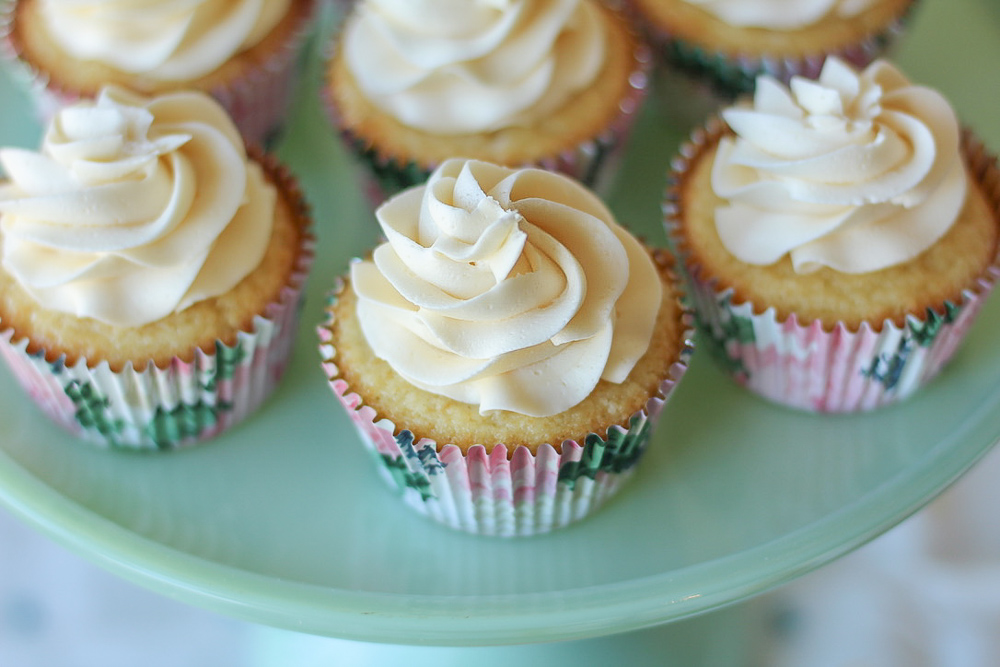
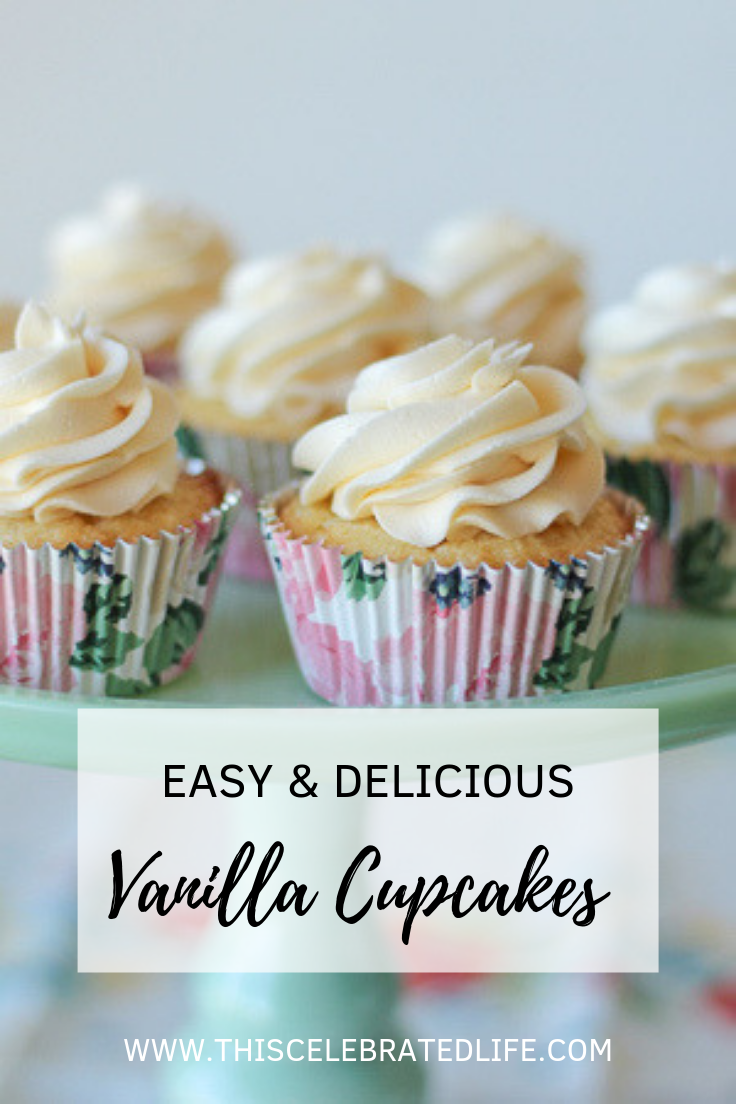
These vanilla cupcakes may be simple, but they are definitely not plain! This classic dessert is full of rich, vanilla flavor and is perfect for any occasion. The easy vanilla cake and vanilla buttercream frosting come together in less than an hour, making this a perfect go-to cupcake recipe!
I have been on a mission the last few days for the perfect vanilla cupcakes! I wanted them to be full of rich vanilla flavor, but also really easy to make! Simple in every sense of the word. I also didn’t want to include ingredients that were difficult to find or expensive to buy. I’m looking at you, vanilla beans!
Make these for the next birthday party, or even for Valentine’s Day with some fun red and pink sprinkles! You’ll love what a quick and easy cupcake recipe this is, and everyone else will love how delicious they taste!
Makes 12 standard cupcakes
Cupcake Ingredients:
1 cup all-purpose flour
1 1/4 teaspoons baking powder
1/4 teaspoon salt
1/2 cup butter, softened
1 cup granulated sugar
1 egg plus 1 egg yolk
1 1/2 teaspoons vanilla extract
1/3 cup full-fat vanilla yogurt (greek or regular is fine)
1/4 cup buttermilk
Vanilla Buttercream Ingredients:
1/2 cup butter, softened
3 cups powdered sugar
2 teaspoons vanilla extract
1 tablespoon heavy cream, if needed
Cupcake Directions:
Preheat the oven to 350 degrees, and line a muffin tin with cupcake liners. Whisk together the dry ingredients, flour through salt.
In the bowl of your stand mixer fitted with the paddle attachment, beat the butter until light and fluffy. Mix in the sugar until combined. Add in the eggs, vanilla, yogurt and buttermilk and mix on low until all ingredients are incorporated. Then add the flour mixture, mixing on low until just combined, scraping down the sides of the bowl as necessary.
Spoon the batter into the lined muffin tin, filling the liners evenly to about 1/2-2/3 full. Bake 13-16 minutes or until a toothpick comes out with moist crumbs. Allow to cool before removing from liners.
Buttercream Directions:
Whip the butter until light and fluffy. Slowly add the powdered sugar and mix on low speed until incorporated. Add vanilla extract. Increase the speed to high, and mix about 2-3 minutes. Frost the cooled cupcakes, and serve!
Click the image below to pin this recipe!
It’s been a while since I shared a new cupcake recipe with you! I’ve been working on this gingerbread cupcake recipe for a few weeks, and have been doing lots of taste testing haha! This is the perfect holiday party recipe, because the cupcakes are such a traditional Christmas dessert flavor, but in a new form. I also love that when I serve them as mini cupcakes they’re so easy for people to eat in a party setting.
What I found interesting in making these cupcakes is that I needed to tone down the traditional spices quite a bit compared to what you would find in a gingerbread cookie recipe. Now they’re still definitely present, prominent and flavorful, but not overwhelming.
My other “secret” ingredient is coffee. I tested this recipe with milk, buttermilk, water, eggnog (not even kidding haha!), and coffee. They all turned out well, but using coffee added a delicious level of richness and depth to the gingerbread flavor that I loved.
Aren’t the sprinkles on these so fun? I can’t not mention them, because I think they’re so cute! They’re such a perfect finishing touch and really elevate the final product. When I served these cupcakes this past weekend, so many people commented on how cute the sprinkles are.
Makes approximately 12 regular cupcakes or 36 mini cupcakes
Gingerbread Cupcake Ingredients:
1/2 cup butter, softened
1/2 cup brown sugar
1 egg
1/2 cup coffee
1/2 cup molasses
1 1/2 teaspoons vanilla
1 1/2 cups flour
1/2 teaspoon baking powder
1/2 teaspoon baking soda
1/4 teaspoon salt
1 teaspoon cinnamon
1/2 teaspoon ground ginger
1/4 teaspoon nutmeg
1/4 teaspoon cloves
Cream Cheese Frosting Ingredients:
1/2 cup (1 stick) salted butter, softened
8 oz full-fat cream cheese, softened
1 teaspoon vanilla extract
3 cups powdered sugar
Directions:
Preheat the oven to 350, and line two mini cupcake tins with liners.
Whisk together the dry ingredients, flour through cloves, and set aside.
In the bowl of your stand mixer, fitted with the paddle attachment, cream together the softened butter and brown sugar until light and fluffy. Add the egg, vanilla, molasses and coffee, mixing until combined. Your batter will look kind of piecy at this stage, and that’s ok! It will all come together in the next step.
Add the dry ingredients in two batches, mixing on low speed until just combined and making sure to scrape the bottom of the bowl often.
Fill mini cupcake liners about 2/3 full each of the batter, and bake for 7-9 minutes or until a toothpick comes out with moist crumbs. Allow to cool completely before frosting.
To make the frosting: beat together the cream cheese and butter until light and fluffy. Add the powdered sugar one cup at a time, mixing on low. Add the vanilla extract and mix until combined.
At this point you can add a little more powdered sugar if the frosting needs to be thicker, or a little bit of milk if it’s too thick. Beat on high for a few minutes to fluff up the frosting, and then fill a piping bag and frost your completely cooled cupcakes.
Today I have the great pleasure of introducing you to a friend of mine, Tasia from Two Sugar Bugs! She’s sharing her recipe for Sugar Cookie Bars, and I couldn’t be more excited! Can you imagine how perfect these would be for a Christmas party, with red and green sprinkles?? The recipe for these delicious bars is below, and be sure to find Tasia on Instagram here, and of course her baking blog here! Enjoy!
Want to pin this recipe for later? Scroll to the bottom of the post to pin this recipe in seconds!
From Tasia:
I met Kirsten earlier this year and we instantly bonded over motherhood, our love of food and wine and being new bloggers. Kirsten has been an amazing friend and resource for me. I love her sense of style, her honesty and her mad cooking and baking skills. I am honored to share my Sugar Cookie Bars recipe with you all and hope you find them as irresistible as I do.
Sugar cookie are my weakness, my kryptonite, they render me utterly defenseless! I can say no to a brownie. A chocolate chip cookie, no problem. A piece of cake, getting weaker…but a sugar cookie? No way. I cannot pass one up.
My friend Laura used to bring sugar cookies into work from time to time. She was known for them. They were rolled in granulated sugar and pressed down with a cup. The cookies were thick, soft and cakey, with a generous layer of frosting. I could eat six at a time. No joke.
One day Laura shared her recipe with me and i became famous for these little lovelies myself. Over the years, i have tinkered with the recipe and turned it into my own. Then one day I was feeling extra lazy and decided to press the dough into bars and add some sprinkles. I mean, who has time for rolling dough balls into sugar and pressing them with a cup? Especially when you want a cookie RIGHT NOW!! And sprinkles just make everything more fun, right?
Be careful not to over bake these bars. You are going to question yourself when you pull them out of the oven. They are going to look a little underdone, but this is how you get a soft cookie bar versus a soft cake-like bar. I also like to use a piece of parchment to line my pan so I can easily pull them out to frost and cut them. I can make much nicer bars when I am not fighting the sides of the pan. Notice I say “nicer” bars. Mine are never all the same size. I am in awe of those that can accomplish that feat. I am very challenged in this department even when marking them with a tape measure. I can accomplish nice straight cuts though. I do this by having the bars chilled and using a sharp knife that gets wiped clean between cuts. If any of you can offer advice to get all of my bars the same size, I am all ears!
You will love these sugar cookie bars because they are soft, chewy and loaded with sprinkles. Now you can be famous for sugar cookie bars too!
Sugar Cookie Bars
Thick, soft and chewy sugar cookie bars, bursting with sprinkles and topped with a generous layer of buttercream.
Servings: 20 Bars
Author: twosugarbugs
Ingredients:
Sugar Cookie Bars:
1/2 cup unsalted butter room temperature
4 ounces cream cheese room temperature
1/2 cup granulated sugar
3/4 cup powdered sugar
1 large egg room temperature
1 teaspoon vanilla extract
1 teaspoon almond extract
2 1/2 cups all-purpose flour
1/2 teaspoon baking soda
1/2 teaspoon baking powder
3/4 teaspoon salt
1/4 sprinkles jimmies, optional
Frosting:
1/2 cup unsalted butter room temperature
2 1/2 cups powdered sugar
1 teaspoon vanilla extract
1 teaspoon almond extract
1 tablespoon heavy cream or half and half
Instructions:
To make the bars:
1. Preheat the oven to 350.
2. Line 9×13 baking pan with parchment paper or aluminum foil, leaving a little extra overhang on the sides.
3 In a medium size bowl, whisk flour, baking soda, baking powder and salt. Set aside.
4. Using a stand mixer with a paddle attachment (or a hand held mixer), cream butter and cream cheese on medium speed about 2 minutes, until nice and creamy. Add the granulated and powdered sugars and mix until pale and fluffy, approximately 3-5 minutes. Add the egg, vanilla and almond extracts and beat until well combined, scraping down the sides as needed.
5. With the mixer on low, add the flour mixture and blend until just combined. Fold in the sprinkles with a spatula, if using. Be sure to use the “jimmies” for your sprinkles as the nonpareil type can bleed and turn your batter an unappetizing color.
6. Press dough into prepared pan using a spatula or lightly moistened fingers. The dough will be thick and somewhat sticky.
7. Bake for 14-16 minutes or until edges are barely browned and they will look a little underdone. You do not want to over bake these bars or they will be more like a cake and less like a soft sugar cookie.
8. Allow to cool completely in the pan placed on a wire rack.
To make the frosting:
1. Using a stand mixer with the paddle attachment (or a hand held mixer) beat the butter on medium-high speed until smooth and creamy. Scrape down the sides of the bowl and add the powdered sugar, vanilla and almond extract, and heavy cream (or half and half). Mix on low speed until incorporated. Increase speed to medium-high and whip until light and fluffy, about 2-3 minutes, scraping sides of the bowl as needed. Add a pinch of salt if the frosting is too sweet. You can also add food coloring, if desired.
2. Once cool, remove the bars from the pan using the parchment paper or aluminum foil and frost, adding additional sprinkles, if desired. Use a sharp knife to cut to your desired size. If you want nice, clean cuts, wipe your knife with a towel between cuts.
Well friends, Autumn officially begins in five days, so give me all the pumpkin, all the spice and all the fall things! I wanted to create a pumpkin cupcake that was a little different from the standard, and knowing the popularity of the pumpkin spice latte, I thought that could be a fun twist on the classic!
If you’ve been following me for a while, you probably know that I’m a little obsessed with cupcakes. I think they’re so fun, and I love thinking of cute new ways to decorate them! You can see my other cupcake recipes right here.
The cake is full of pumpkiny goodness and spices, as one would expect! The frosting is a whipped cream frosting (since the pumpkin spice latte is usually topped with whipped cream), but I also mixed in a little cream cheese because pumpkin and cream cheese are such a perfect pairing.
So go ahead and whip up a batch to satisfy that pumpkin spice craving! These cupcakes are super easy, so you’ll probably be enjoying them in the time it would have taken you to get through that crazy drive through line!
Cupcake Ingredients:
2 cups flour
1 cup sugar
1 tsp baking powder
1 tsp baking soda
1/2 tsp salt
3 tsp pumpkin pie spice
1 1/2 cups pumpkin puree (not pumpkin pie filling)
1/2 cups whole milk
1/4 cup melted butter (1/2 stick)
2 eggs
1 tsp vanilla
Frosting Ingredients:
2 cups heavy whipping cream
1 cup powdered sugar
1 Tbs instant espresso powder
8 oz cream cheese, softened
Directions:
Put the stand mixer whisk attachment in the freezer. Weird direction, but go with it.
Preheat the oven to 350, and line a muffin tin with foil liners (I used these green foil ones). The pumpkin will stick to paper liners, and make for an unhappy baker!
Whisk together the flour, baking powder, baking soda, salt, sugar and pumpkin pie spice. Set aside.
In the bowl of your stand mixer fitted with the paddle attachment, mix together the wet ingredients, pumpkin puree through vanilla. Add the dry ingredients to the mixture in two batches, stirring on low speed until just combined.
Using a cookie scoop, fill each liner until about 2/3 full with batter. I usually get about six extra cupcakes which are perfect for taste testing, am I right?!
Bake for about 14-18 minutes, or until a toothpick comes out with moist crumbs. Let cool in the pan for 5 minutes and then remove them to a cooling rack.
For the frosting, you want the stand mixer bowl to be room temp or cold (I wash mine while the cupcakes bake, and then stick it in the freezer). If the bowl or whisk attachment are warm, the whipped cream won’t solidify the way you want it to. Dissolve the espresso powder into the heavy cream, stirring until no pieces remain. Fix the cold whisk attachment, and mix the cream cheese and powdered sugar until combined and fluffy. Reduce the speed to low, and slowly drizzle in the heavy cream mixture. Once the cream begins to thicken (after a few minutes), increase the speed until the frosting becomes light and fluffy like whipped cream! Frost the completely cooled cupcakes, and enjoy.
These frosted cupcakes need to be stored in the fridge, but can be taken out an hour or two before serving if you prefer them at room temperature.


