this is a page for

Category: dessert

Chocolate Peanut Butter Cake

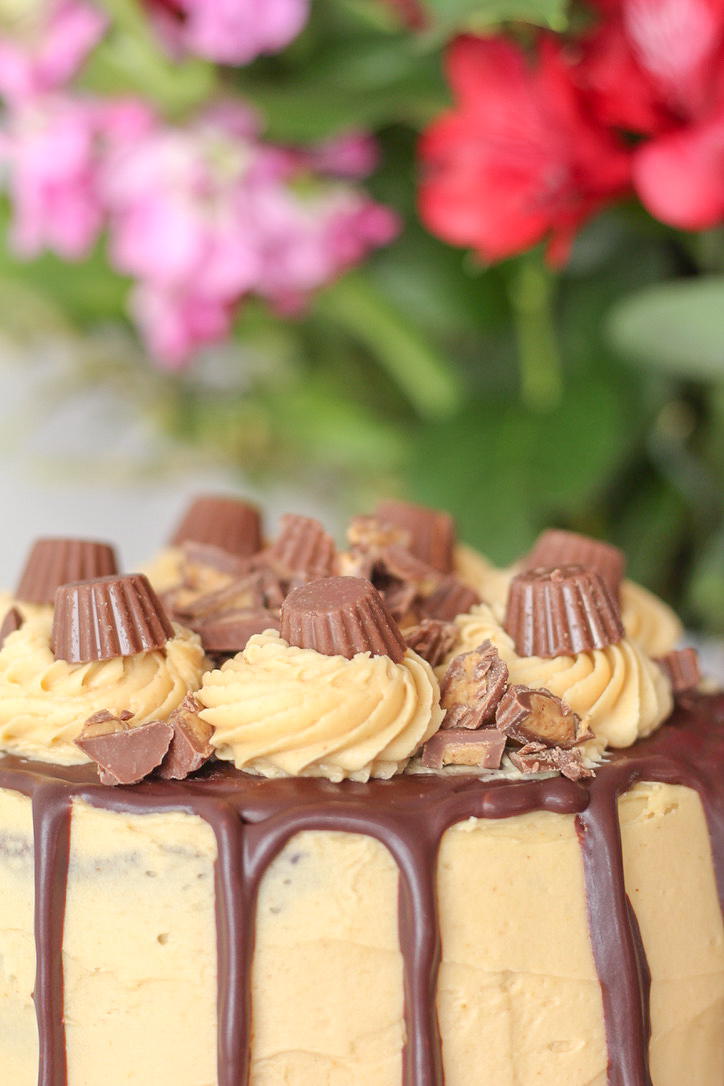
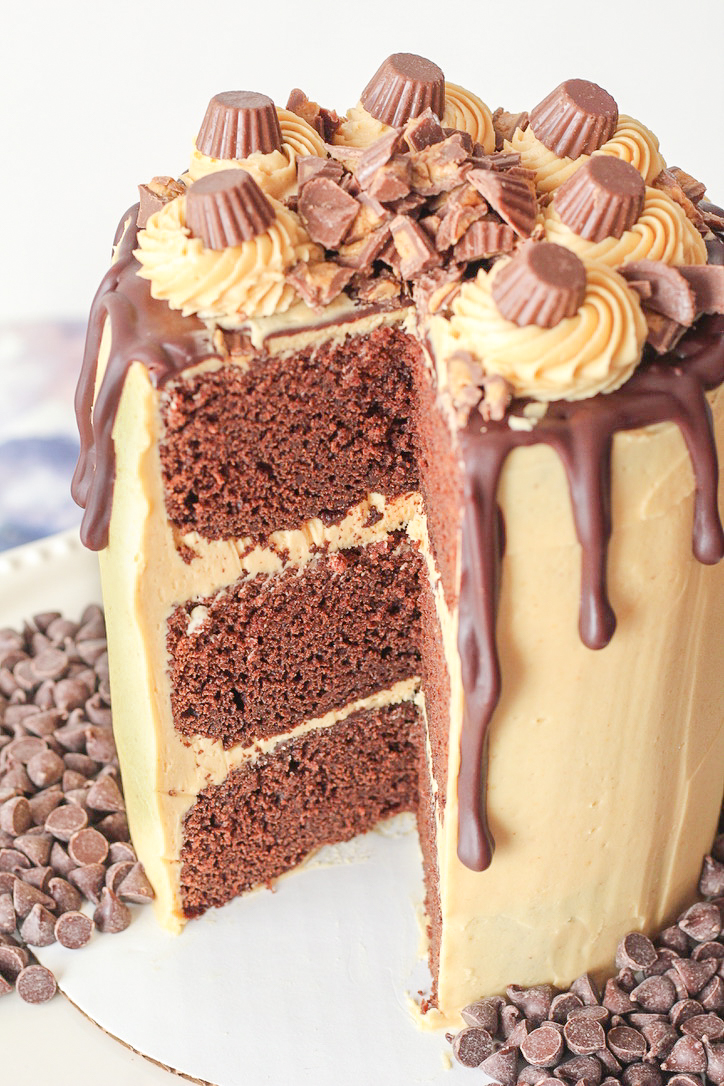
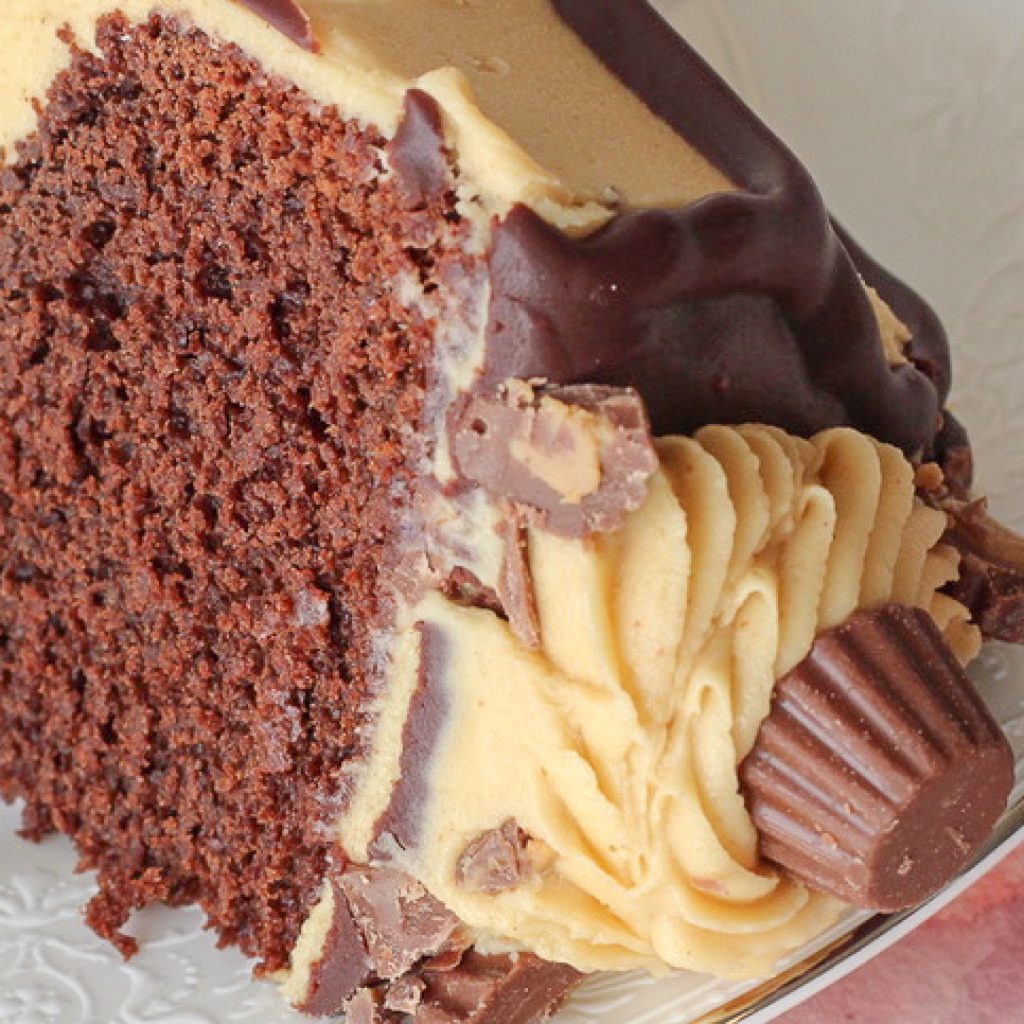
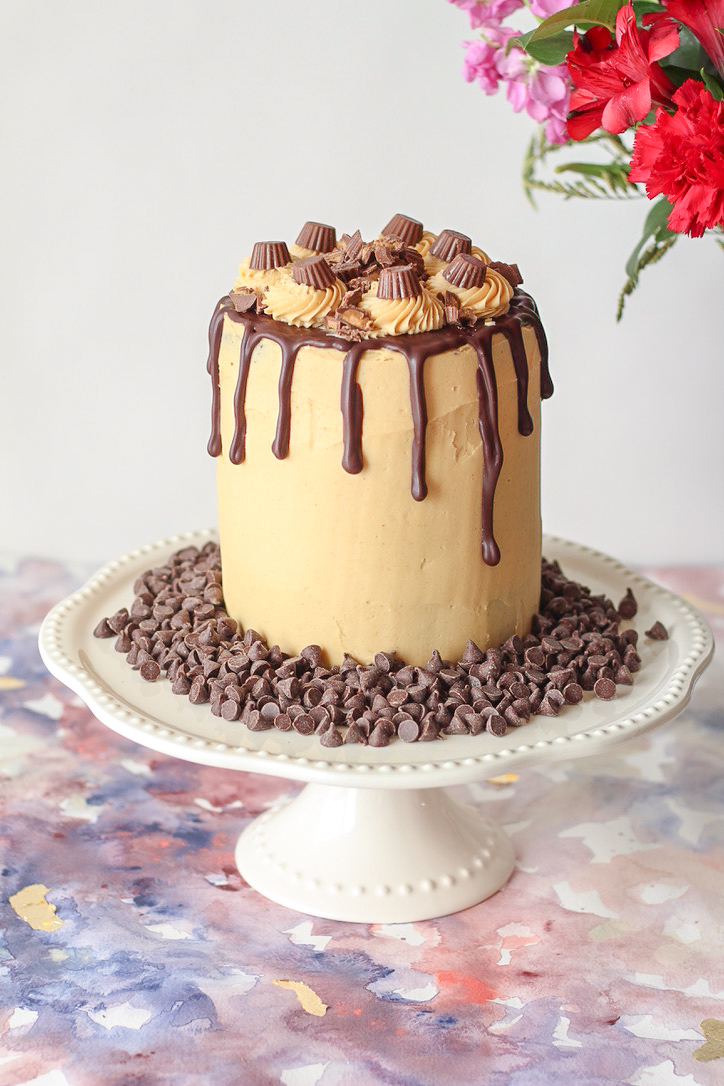
Peanut butter and chocolate are one of my very favorite flavor combinations. As a kid peanut butter cups were my very favorite candy, and that’s what inspired this cake! Dense, rich chocolate paired with light and creamy peanut butter buttercream. If you know a chocolate peanut butter lover, you’ve got to make this cake for them!

The peanut butter buttercream is where I spent the most time in the recipe for this cake. I wanted the peanut butter flavor to be present and strong enough, but I didn’t want it to be overpowering. I’ve had peanut butter frosting before that had so much peanut butter and so much powdered sugar, that it was almost tacky in my mouth. While I have to admit I have eaten spoonfuls of peanut butter before (guilty!), that’s not the feeling I wanted in a cake.

I’m so happy with how it turned out. It’s creamy and melt-in-your-mouth good, with all the peanut butter flavor we all love!

Side note: be sure to use creamy peanut butter, even if you normally prefer crunchy. The peanuts in the crunchy peanut butter will not only be difficult to frost, they’ll actually pull at the cake itself and make it a crumbly mess.

Tips To Make Chocolate Peanut Butter Cake In Advance:

This is a really quick and easy cake to make! I like to break up the different steps, which makes it even easier. The day before serving, I bake the cakes. Then I store them in the fridge overnight, wrapped well in plastic wrap AND a freezer plastic bag. No dry cakes here! Then the next day, all I have to do is frost it, and do the ganache drip.

You can also prepare the frosting the day before (or up to 4 days in advance), if you’d like. Store the frosting in the fridge, and allow it to come to room temperature for a few hours before frosting.


Tools To Make Chocolate Peanut Butter Cake:

Stand Mixer: I love using my stand mixer for making the chocolate cake batter and the peanut butter frosting. If you’re already a baker or want to get more into it, a stand mixer is an amazing tool. I use mine pretty much every day!

Hand Mixer: If you’re not ready to invest in a stand mixer, grab yourself a good quality hand mixer. You can absolutely use a hand mixer to make this chocolate peanut butter cake recipe! I’ve owned this hand mixer for over 10 years, and it’s amazing! Even owning a stand mixer, I still use this powerful tool multiple times a week.

Squeeze Bottle: I use this squeeze bottle for my ganache! Oh my gosh, does this tool make drip cakes easier! It gives you so much more control over the drip compared to a decorating bag. I seriously can’t recommend it enough! I’m a little obsessed.

Cake Pans: I wax romantic about these cake pans whenever I’m talking to cake friends about baking. These are an investment, and totally worth it. They bake your cakes so evenly, which means they’re more moist and bake time is reduced. Sounds good, right? For this recipe I use three 6″ cake pans, and you can also make it a two layer cake by using two 8″ cake pans.

My Cake Stand: Not a “tool”, but I’m asked all the time about this cake stand! It’s one of my favorites since it’s so neutral, and is perfect for serving cakes, cookies, brownies, you name it!


For more recommendations on cake tools, check out this post!


Print
clock clock iconcutlery cutlery iconflag flag iconfolder folder iconinstagram instagram iconpinterest pinterest iconfacebook facebook iconprint print iconsquares squares iconheart heart iconheart solid heart solid icon

Chocolate Peanut Butter Cake

5 Stars 4 Stars 3 Stars 2 Stars 1 Star No reviews
  • Author: Kirsten Bell
  • Prep Time: 30 Minutes
  • Cook Time: 30 Minutes
  • Total Time: 1 hour
  • Yield: 12 Slices 1x
  • Category: Dessert
  • Method: Baking

Description

A cake for all you peanut butter lovers! Moist and flavorful chocolate cake, creamy peanut butter frosting, and rich chocolate ganache dripped on top.


Ingredients

Scale

Chocolate Cake Ingredients:

2 cups all-purpose flour

2 cups granulated sugar

1 cup cocoa powder (I used dark chocolate cocoa powder because I wanted them really intense)

1 tsp salt 1 tsp baking soda

1 cup hot brewed coffee

1 cup unsalted butter (two sticks)

2 eggs, whisked

1/2 cup buttermilk

2 tsp vanilla extract

Peanut Butter Buttercream Ingredients:

1 cup unsalted butter, softened to room temperature

1/2 cup creamy peanut butter

4 cups powdered sugar

1 teaspoon vanilla extract

salt, to taste 

optional garnish: mini peanut butter cups

Dark Chocolate Ganache Ingredients:

1 cup dark chocolate chips

1/3 cup heavy cream


Instructions

Cake Directions: 

Preheat oven to 350 degrees F. Grease and line the bottom of three 6″ round cake pans. Set aside.

In a small pan, heat the butter and coffee until the mixture is steaming and the butter is melted. Take off the burner and let cool.

Whisk together the dry ingredients, flour through baking soda.

Mix together the eggs, buttermilk and vanilla extract. Add the butter mixture once cooled. If the butter mixture is still too hot when you mix these together, the egg will cook.

Add the dry ingredients into the now combined wet ingredients in two batches. Fold together until just combined. Pour batter into prepared cake pans and bake at 350 for 25-30 minutes – until a toothpick comes out with moist crumbs. Allow the cake to cool in the pans for 10 minutes, then turn them upside down on a cooling rack to cool completely. This will help create a flatter top for each layer.

After the cakes have come to room temperature, wrap well in plastic wrap and set flat in the freezer for at least an hour, or in the fridge for a few hours. This will make frosting easier, and will help the ganache set more quickly.

Peanut Butter Buttercream and Dark Chocolate Ganache Directions: 

Whip the butter and peanut butter until light and fluffy. Add the powdered sugar one cup at a time, and then add the vanilla extract and salt as needed.

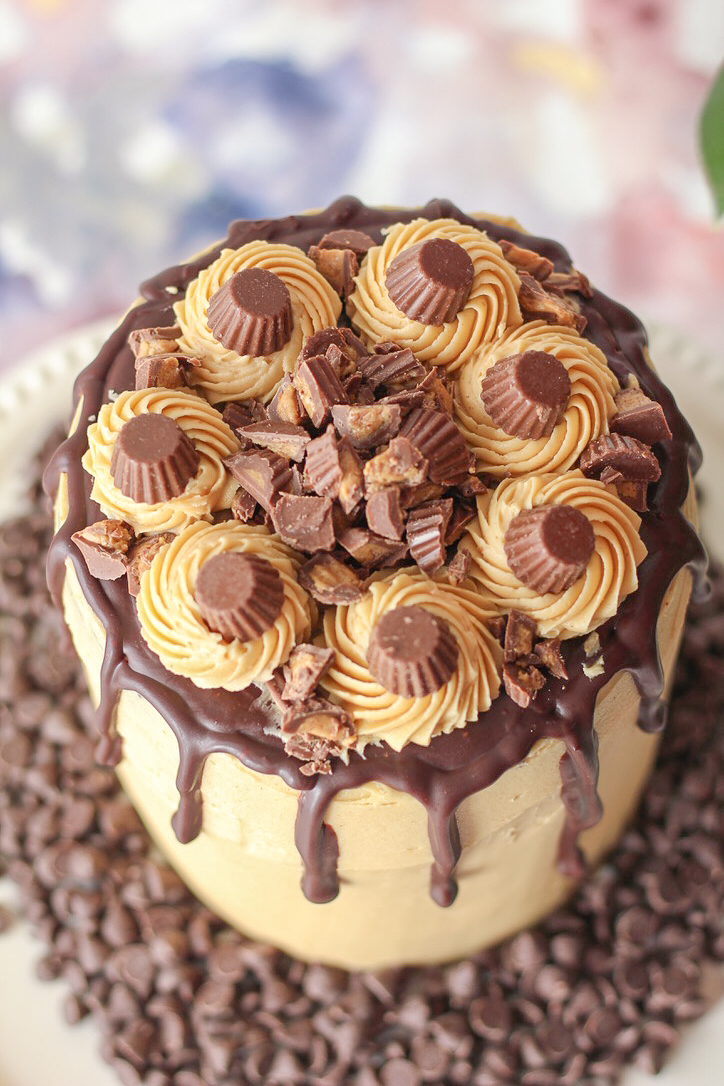
For the ganache, melt the chocolate chips and heavy cream together in a small bowl. Spread the peanut butter buttercream between each cake layer and the outside of the cake. Drip the chocolate ganache over top. I like to fill this squeeze bottle with the ganache. I find it more easy to control the drip that way, versus a spoon! Decorate with peanut butter cups!

Want More Delicious Recipes? Check These Out:

Tools Used In This Recipe:

Vanilla Cardamom Baked Doughnuts

Oh, do I have a treat for you today: soft, delicious vanilla cardamom baked doughnuts. Honestly? In the past I haven’t been a huge fan of doughnuts. Every once in a while I get in the mood for a good maple bar, but usually they’re just too greasy for me. But these baked doughnuts have changed my mind! Full of that delicious doughnut flavor, but way less oily. These doughnuts are a perfect happy medium and definitely the best doughnuts I’ve ever tasted!

Used In This Recipe:
 
 
vanilla cardamom baked doughnuts

Almond Chocolate Chip Oatmeal Cookies

Happy Monday everyone! A fresh week ahead, and so much to look forward to! Including these almond chocolate chip oatmeal cookies! I am a biiiig chocolate chip cookie fan. While I love classic chocolate chip cookies too, sometimes I crave that delicious chewy texture that you get in an oatmeal cookie. And the oatmeal makes them healthier right? Let’s just go with that.

almond oatmeal chocolate chip cookies

Orange Scented Shortbread Cookies With Rose Water Glaze

I am so excited to share this shortbread cookie recipe with you today! These melt-in-your-mouth delicious cookies are beautiful, quick and easy. You seriously won’t believe how easy these are. And the flavor combination of orange and rose? Un. Real. You’ll have to try them to believe it, and then you’ll never go back!

Let’s talk special ingredients. In the cookies, I used orange blossom extract along with orange zest. The flavor of orange blossom extract is softer and more delicate than traditional orange. I really like how subtle the flavor is in the cookies, and how the orange zest brightens is up just a tetch. Honestly these cookies could totally be eaten alone (I’m your witness, I probably ate 5), but oh my gosh they are made even more outstanding by the glaze. Which brings me to the next special ingredient – rose water extract. This extract smells very perfumy, and you definitely have to toe the line between soap and delicious. But when you hit that balance, it’s total perfection.

Makes about 18-20 small cookies

Cookie Ingredients: 

1 cup butter, softened
1/2 cup powdered sugar
1/2 cup corn starch
1 1/2 cups all-purpose flour
1/2 teaspoon orange blossom extract
1/4 teaspoon vanilla
Zest of one orange (keep the rest of the orange for the glaze)

Glaze Ingredients:

1 tablespoon fresh orange juice
1 cup powdered sugar
1 teaspoon rose water extract

Directions: 

In the bowl of your stand mixer fitted with the paddle attachment, whip the butter until light and fluffy. Add the powdered sugar and cornstarch, mixing until well combined. Add the flour, extracts and orange zest, and mix until just combined. It may look too dry, and like it won’t come together. Just keep mixing – it will!

Roll the dough into two logs, and wrap with plastic wrap. Refrigerate for 1-2 hours, or until the dough is cold. Preheat the oven to 300, and line two baking sheets with parchment paper. Arrange the cookies on the lined baking sheets, and bake about 30 minutes, or until the edges of the cookies are just beginning to color. Be sure not to overbake! Remove from the oven, and let cool on the sheets for about 5 minutes before transferring them to a cooling rack.

For the glaze: When the cookies are completely cooled, combine all the ingredients in a small bowl. I like to use a fork to combine the powdered sugar with the orange juice. Dip each cookie into the glaze, and allow to dry on the cooling rack until the glaze is hardened. Garnish with dried rose buds (just make sure they’re food grade like these), and serve!

http://www.thiscelebratedlife.com/search/label/recipes

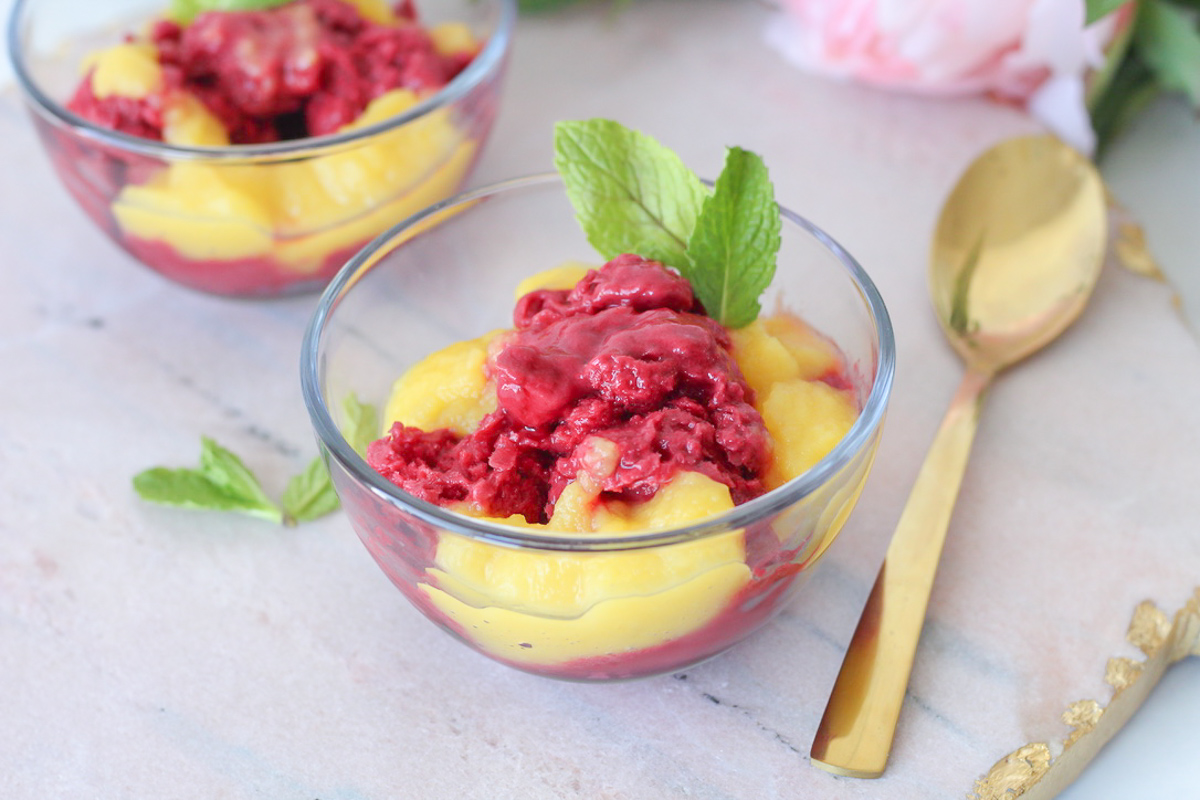
Easy Healthy Raspberry Mint Sorbet with Mango Coulis

You know I love a good dessert! Chocolate cake, red velvet cookies – keep them coming! But sometimes something lighter is exactly what we need, especially for an easy weeknight treat. I love that this sorbet is so quick and easy to make, and with very little (or no) sugar, it’s a naturally sweet dessert alternative.

Mango coulis sounds so fancy, doesn’t it? It’s just as delicious as you think, but probably a lot simpler! I love the bright tropical fruit flavor paired with this raspberry sorbet, and I love the color too!

Used in this post: 

https://www.thiscelebratedlife.com/p/blog-page_12.html

I make this sorbet in our Vitamix machine, which I love! If you don’t have one yet, what are you waiting for? I love that it’s so versatile and can make pretty much everything! In case you missed it, be sure to check out my Green Smoothie recipe from last week!

Ingredients: 

1/2 cup water
2 teaspoons granulated sugar (optional)
5 mint leaves
4 cups frozen raspberry
1 cup mango

Directions:

Place all the ingredients except the mango into your Vitamix machine in the order listed. Select Variable 1, and start machine. Slowly increase to Variable 10, and mix for about 30 seconds. Alternatively, if your machine has a frozen dessert setting, select the setting and press start.

For the mango coulis: puree the mango in the Vitamix until smooth. Refrigerate until serving.

The sorbet may need to be frozen for an hour or two. Garnish with mango coulis and mint leaves, and serve!

Trying this recipe? Be sure to tag me on Instagram so I can see it! I love to see and share what you create!

http://www.thiscelebratedlife.com/search/label/recipes
This Celebrated Life