this is a page for

Category: recipes

Fresh and Healthy Winter Salad

In the summer, I’m obsessed with salads. They’re so light and fresh – perfect for warm evenings on the patio. During the winter I definitely crave more comfort foods like macaroni and cheese or cheesy pesto rolls haha! But we’ve been making an effort to up our veggie intake, which has meant a lot more salads!

I’ve been trying to keep our salads new and exciting, experimenting with different ingredients and flavors. I love everything about this salad! The juicy pear is delicious with the tart cranberries, and toasted pecans are delicious with a hint of salty feta cheese. Topped with homemade shallot and basil vinaigrette, this is a winter salad that we’ll be enjoying all year long!  

In this post: 

Side note: I recently got these to-go dishes from Villeroy & Boch, and I am obsessed. Aren’t they so pretty?? The dishes work perfectly for my salads, and I love that they’re not plastic. We’ve been purging our plastic storage containers, so I really like that these are porcelain. Also eating off of a real bowl is just so much more enjoyable, don’t you think? I use the small dish for my dressing, but it would also be perfect for dips and sauces!

https://www.thiscelebratedlife.com/p/blog-page_12.html

Makes one salad, and about 1/2 cup dressing

Salad Ingredients:

2 cups romaine lettuce
1/2 pear, sliced
1/4 dried cranberries
1/4 cup crumbled feta cheese
2 tablespoons pecans
Optional additions: boiled egg slices, bacon, sliced onion or avocado

Basil Shallot Vinaigrette Ingredients:

2 tablespoons champagne vinegar
1 tablespoon agave
1/4 cup olive oil
1/4 cup fresh basil leaves
2 tablespoons finely chopped shallot
2 tablespoons dijion mustard
1/4 teaspoon salt
1/4 teaspoon black pepper

Vinaigrette Directions:

Combine all of the ingredients in the bowl of your food processor or blender (I used my Vitamix). Blend until smooth, and add any additional salt and pepper as needed. Serve!

If you make this recipe, be sure to tag me on Instagram (@thiscelebratedlife)! I love to see and share your creations!

http://www.thiscelebratedlife.com/search/label/recipes

Chocolate Peanut Butter Cake

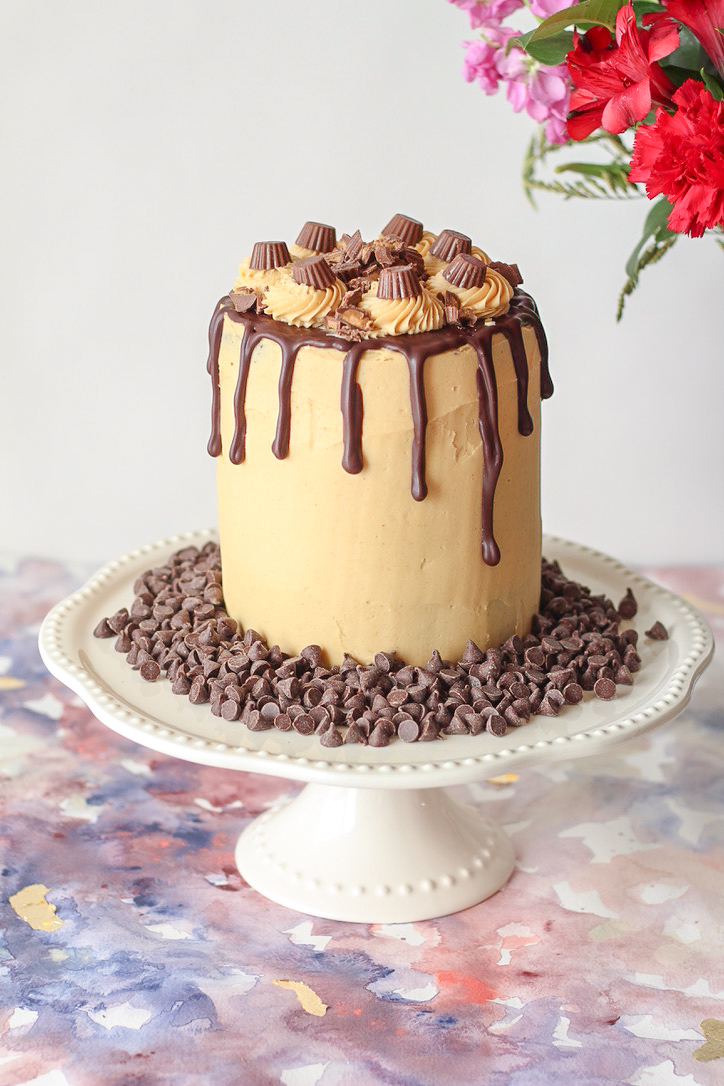
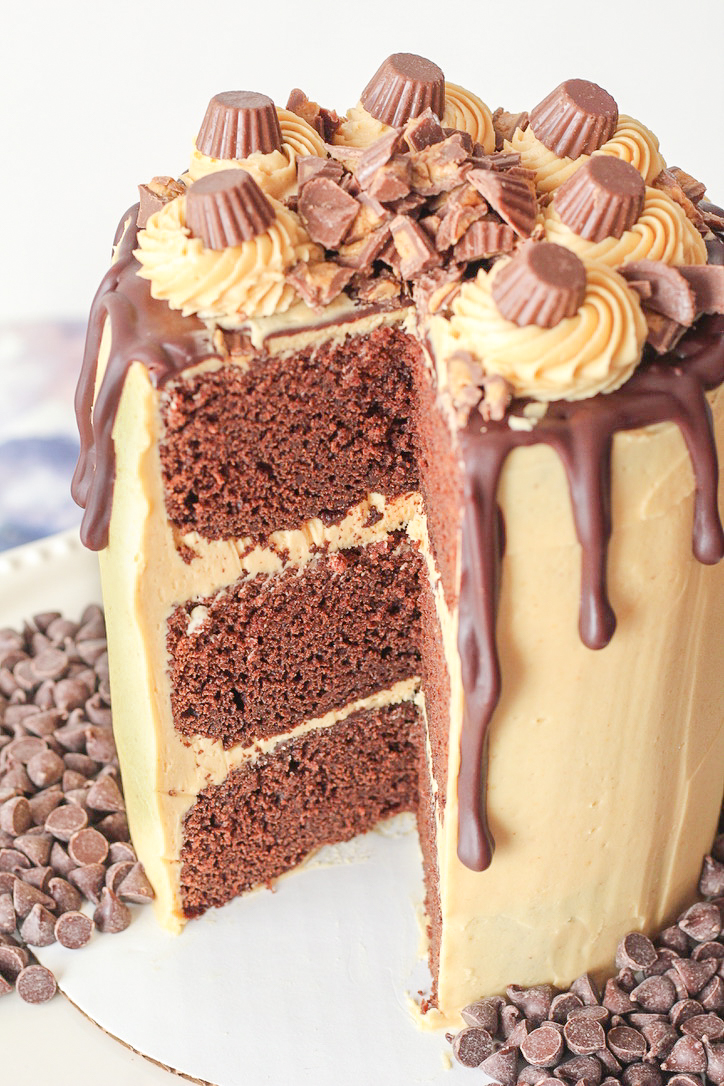
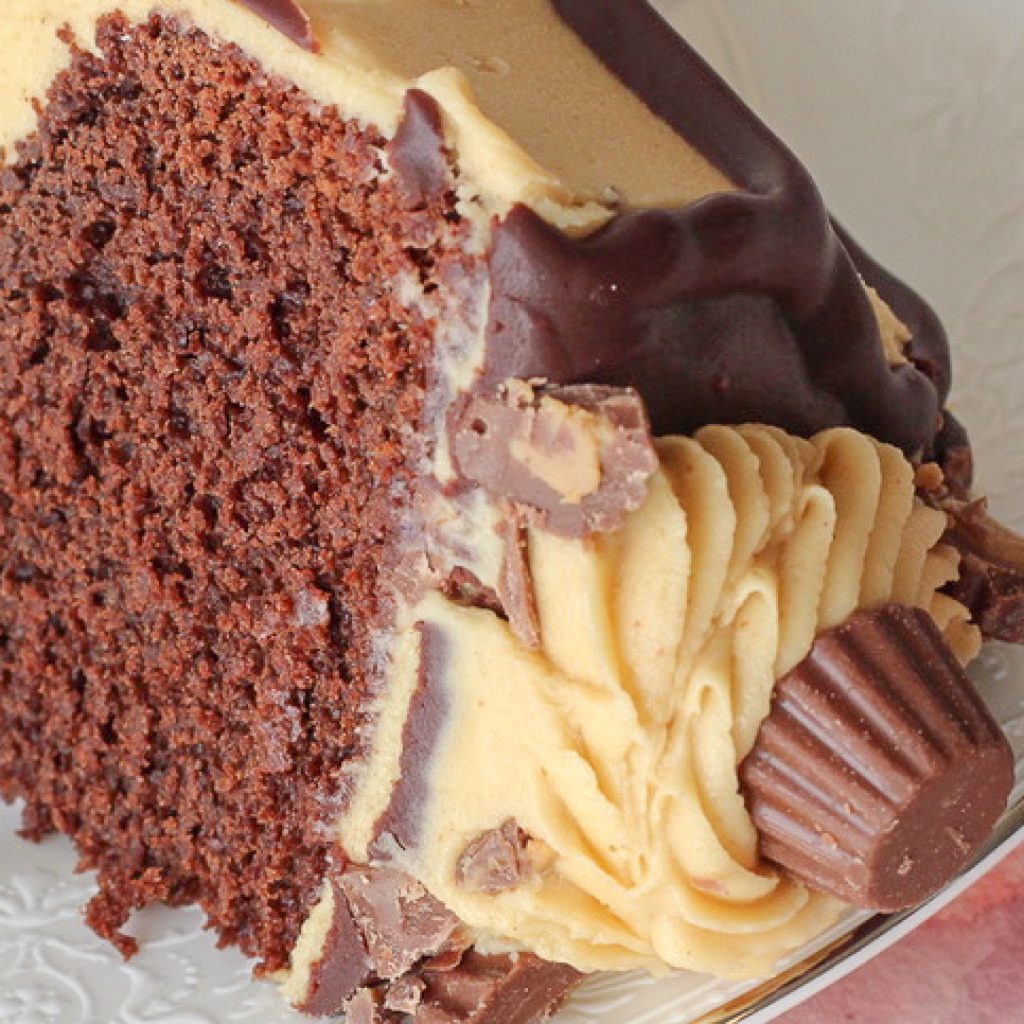
Peanut butter and chocolate are one of my very favorite flavor combinations. As a kid peanut butter cups were my very favorite candy, and that’s what inspired this cake! Dense, rich chocolate paired with light and creamy peanut butter buttercream. If you know a chocolate peanut butter lover, you’ve got to make this cake for them!

The peanut butter buttercream is where I spent the most time in the recipe for this cake. I wanted the peanut butter flavor to be present and strong enough, but I didn’t want it to be overpowering. I’ve had peanut butter frosting before that had so much peanut butter and so much powdered sugar, that it was almost tacky in my mouth. While I have to admit I have eaten spoonfuls of peanut butter before (guilty!), that’s not the feeling I wanted in a cake.

I’m so happy with how it turned out. It’s creamy and melt-in-your-mouth good, with all the peanut butter flavor we all love!

Side note: be sure to use creamy peanut butter, even if you normally prefer crunchy. The peanuts in the crunchy peanut butter will not only be difficult to frost, they’ll actually pull at the cake itself and make it a crumbly mess.

Tips To Make Chocolate Peanut Butter Cake In Advance:

This is a really quick and easy cake to make! I like to break up the different steps, which makes it even easier. The day before serving, I bake the cakes. Then I store them in the fridge overnight, wrapped well in plastic wrap AND a freezer plastic bag. No dry cakes here! Then the next day, all I have to do is frost it, and do the ganache drip.

You can also prepare the frosting the day before (or up to 4 days in advance), if you’d like. Store the frosting in the fridge, and allow it to come to room temperature for a few hours before frosting.


Tools To Make Chocolate Peanut Butter Cake:

Stand Mixer: I love using my stand mixer for making the chocolate cake batter and the peanut butter frosting. If you’re already a baker or want to get more into it, a stand mixer is an amazing tool. I use mine pretty much every day!

Hand Mixer: If you’re not ready to invest in a stand mixer, grab yourself a good quality hand mixer. You can absolutely use a hand mixer to make this chocolate peanut butter cake recipe! I’ve owned this hand mixer for over 10 years, and it’s amazing! Even owning a stand mixer, I still use this powerful tool multiple times a week.

Squeeze Bottle: I use this squeeze bottle for my ganache! Oh my gosh, does this tool make drip cakes easier! It gives you so much more control over the drip compared to a decorating bag. I seriously can’t recommend it enough! I’m a little obsessed.

Cake Pans: I wax romantic about these cake pans whenever I’m talking to cake friends about baking. These are an investment, and totally worth it. They bake your cakes so evenly, which means they’re more moist and bake time is reduced. Sounds good, right? For this recipe I use three 6″ cake pans, and you can also make it a two layer cake by using two 8″ cake pans.

My Cake Stand: Not a “tool”, but I’m asked all the time about this cake stand! It’s one of my favorites since it’s so neutral, and is perfect for serving cakes, cookies, brownies, you name it!


For more recommendations on cake tools, check out this post!


Print
clock clock iconcutlery cutlery iconflag flag iconfolder folder iconinstagram instagram iconpinterest pinterest iconfacebook facebook iconprint print iconsquares squares iconheart heart iconheart solid heart solid icon

Chocolate Peanut Butter Cake

5 Stars 4 Stars 3 Stars 2 Stars 1 Star No reviews
  • Author: Kirsten Bell
  • Prep Time: 30 Minutes
  • Cook Time: 30 Minutes
  • Total Time: 1 hour
  • Yield: 12 Slices 1x
  • Category: Dessert
  • Method: Baking

Description

A cake for all you peanut butter lovers! Moist and flavorful chocolate cake, creamy peanut butter frosting, and rich chocolate ganache dripped on top.


Ingredients

Scale

Chocolate Cake Ingredients:

2 cups all-purpose flour

2 cups granulated sugar

1 cup cocoa powder (I used dark chocolate cocoa powder because I wanted them really intense)

1 tsp salt 1 tsp baking soda

1 cup hot brewed coffee

1 cup unsalted butter (two sticks)

2 eggs, whisked

1/2 cup buttermilk

2 tsp vanilla extract

Peanut Butter Buttercream Ingredients:

1 cup unsalted butter, softened to room temperature

1/2 cup creamy peanut butter

4 cups powdered sugar

1 teaspoon vanilla extract

salt, to taste 

optional garnish: mini peanut butter cups

Dark Chocolate Ganache Ingredients:

1 cup dark chocolate chips

1/3 cup heavy cream


Instructions

Cake Directions: 

Preheat oven to 350 degrees F. Grease and line the bottom of three 6″ round cake pans. Set aside.

In a small pan, heat the butter and coffee until the mixture is steaming and the butter is melted. Take off the burner and let cool.

Whisk together the dry ingredients, flour through baking soda.

Mix together the eggs, buttermilk and vanilla extract. Add the butter mixture once cooled. If the butter mixture is still too hot when you mix these together, the egg will cook.

Add the dry ingredients into the now combined wet ingredients in two batches. Fold together until just combined. Pour batter into prepared cake pans and bake at 350 for 25-30 minutes – until a toothpick comes out with moist crumbs. Allow the cake to cool in the pans for 10 minutes, then turn them upside down on a cooling rack to cool completely. This will help create a flatter top for each layer.

After the cakes have come to room temperature, wrap well in plastic wrap and set flat in the freezer for at least an hour, or in the fridge for a few hours. This will make frosting easier, and will help the ganache set more quickly.

Peanut Butter Buttercream and Dark Chocolate Ganache Directions: 

Whip the butter and peanut butter until light and fluffy. Add the powdered sugar one cup at a time, and then add the vanilla extract and salt as needed.

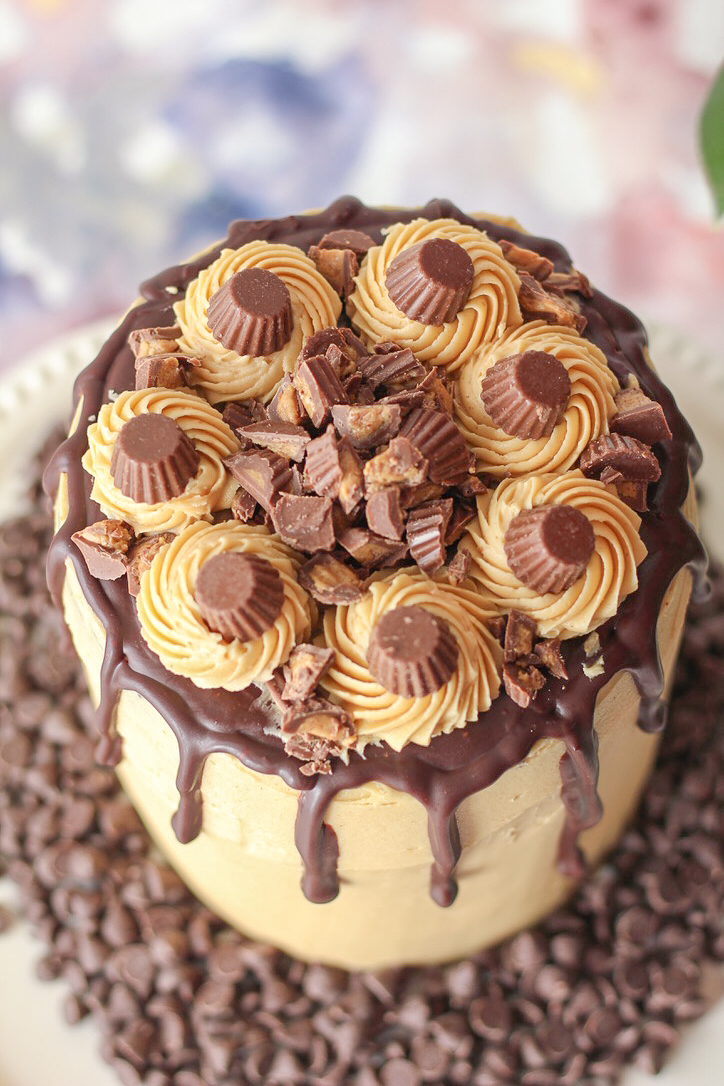
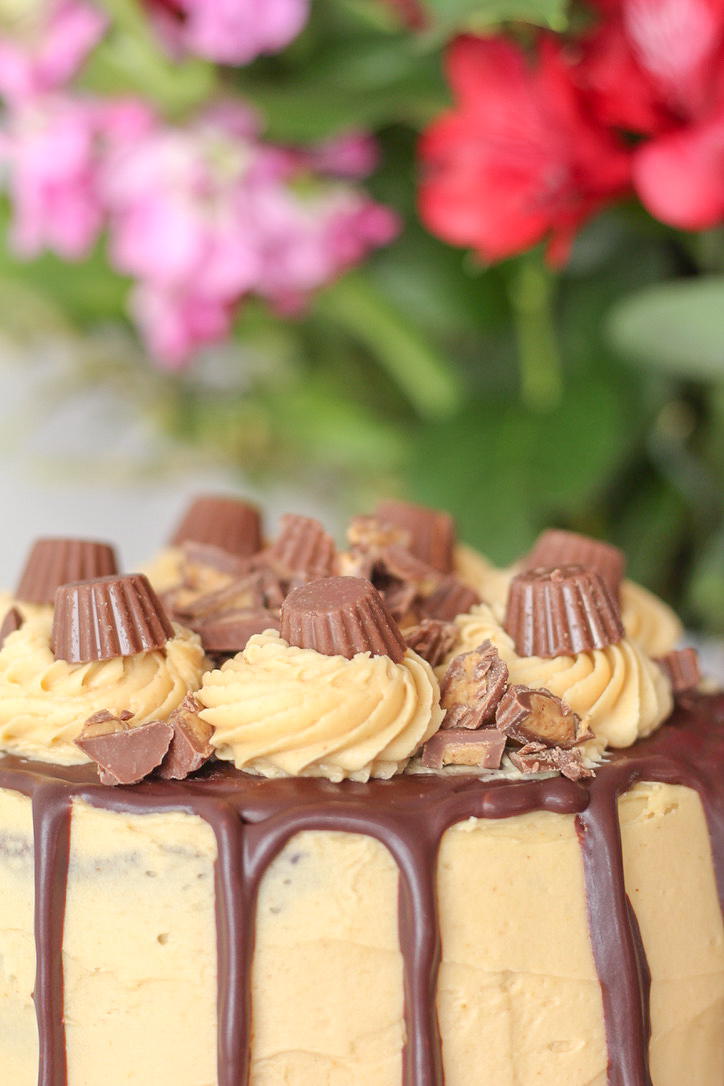
For the ganache, melt the chocolate chips and heavy cream together in a small bowl. Spread the peanut butter buttercream between each cake layer and the outside of the cake. Drip the chocolate ganache over top. I like to fill this squeeze bottle with the ganache. I find it more easy to control the drip that way, versus a spoon! Decorate with peanut butter cups!


Want More Delicious Recipes? Check These Out:

Tools Used In This Recipe:

Vanilla Cardamom Baked Doughnuts

Oh, do I have a treat for you today: soft, delicious vanilla cardamom baked doughnuts. Honestly? In the past I haven’t been a huge fan of doughnuts. Every once in a while I get in the mood for a good maple bar, but usually they’re just too greasy for me. But these baked doughnuts have changed my mind! Full of that delicious doughnut flavor, but way less oily. These doughnuts are a perfect happy medium and definitely the best doughnuts I’ve ever tasted!

Used In This Recipe:
 
 
vanilla cardamom baked doughnuts

Quick, Easy and Flavorful Cilantro Pesto Flatbread

Do you ever get caught in a recipe or flavor rut? I do, all the time! Especially when it comes to dinner, we seem to repeat the same meals. I mean – we’re all busy, and coming up with new dinner ideas takes time and energy! One week when Jordan and I were just married, I made grilled cheese and tomato soup so many times that we haven’t had it again since…and that was almost 3 years ago haha! Oops!

So if you need a new, easy weeknight meal idea – this Cilantro Pesto Flatbread is it! Packed with flavor, and done start to finish in under 30 minutes. With protein from the black beans and cheese, this can easily be a vegetarian meal, or add some cooked chicken or pulled pork.

Used in this post: 

Over the last few weeks I’ve been sharing some of my favorite recipes to make with our Vitamix machine, including our Clean Green Smoothie and Raspberry Sorbet with Mango Coulis. For this pizza sauce I wanted to break out from the traditional red pizza sauce recipe, and use a cilantro pesto instead.

Did you know: the word pesto likely comes from the Italian verb pestare, which means to pound or crush. While we usually think of pesto made with basil, really any herb can be used! Pesto is incredibly easy to make in the Vitamix – I told Jordan I’m never going to buy it again haha! This cilantro pesto is light and fresh with an almost citrus taste. A perfect companion for the black beans, tomatoes and corn that we throw on top.

For the sake of time, I used a pre-made refrigerated pizza crust and canned beans and corn so the only thing I needed to prep was the sauce (which can be made ahead of time) and cutting tomatoes. Pretty darn easy, right?

Cilantro Pesto Flatbread Ingredients: 

1 pizza crust (pre-made or homemade)
1 recipe cilantro pesto (recipe below)
2-3 cups italian blend cheese
1/2 cup canned black beans, drained and rinsed
1/2 cup canned whole corn kernels
1 tomato, diced
Cooked chicken, if using

Cilantro Pesto Directions: 

Preheat the oven to the temperature specified by your chosen pizza crust. Line a baking sheet with parchment paper, place the crust on the baking sheet and spread the cilantro pesto sauce evenly over the crust, leaving about 1/2 inch around the edges. Sprinkle cheese on top of the sauce – I like a lot of melty cheese haha! Top with the beans, corn, tomato and chicken. Bake per crust directions, and enjoy!

Want to add even more? How about some sliced onions and chopped green bell pepper?

Cilantro Pesto Ingredients: 

1/2 cup extra virgin olive oil
1/2 cup grated Parmesan cheese
4 garlic cloves
2 cups cilantro leaves, stems discarded
2 tablespoons walnuts
1/4 teaspoon salt
1/4 teaspoon ground black pepper

Cilantro Pesto Directions: 

Load all the ingredients into your Vitamix machine. Select Variable 1, and start your machine. Slowly increase to Variable 7, and blend for 1-2 minutes or until your desired consistency is met. I personally like a really smooth pesto. Add additional salt and pepper to taste.

If making ahead of time, cover and refrigerate for up to 5-7 days or freeze 3-4 months.

Almond Chocolate Chip Oatmeal Cookies

Happy Monday everyone! A fresh week ahead, and so much to look forward to! Including these almond chocolate chip oatmeal cookies! I am a biiiig chocolate chip cookie fan. While I love classic chocolate chip cookies too, sometimes I crave that delicious chewy texture that you get in an oatmeal cookie. And the oatmeal makes them healthier right? Let’s just go with that.

almond oatmeal chocolate chip cookies

This Celebrated Life